The sand between pavers is small but important. It locks pavers together so they act as one surface, spreads loads from feet and tires, and keeps water and weeds out of the bedding layer. When joints empty out from rain, power washing or ants, pavers start to shift, weeds sprout, and water goes straight into the base. Refilling joints, often with polymeric sand, is one of the simplest and most cost-effective ways to protect a paver patio, walk or driveway.
This page explains what polymeric sand is, when to use it, how it should be applied, common problems and what to ask. When you are ready, call or use the form and we will connect you with an independent local contractor.
Signs Your Joints Need Attention
- Joints are visibly lower than the paver surface or empty.
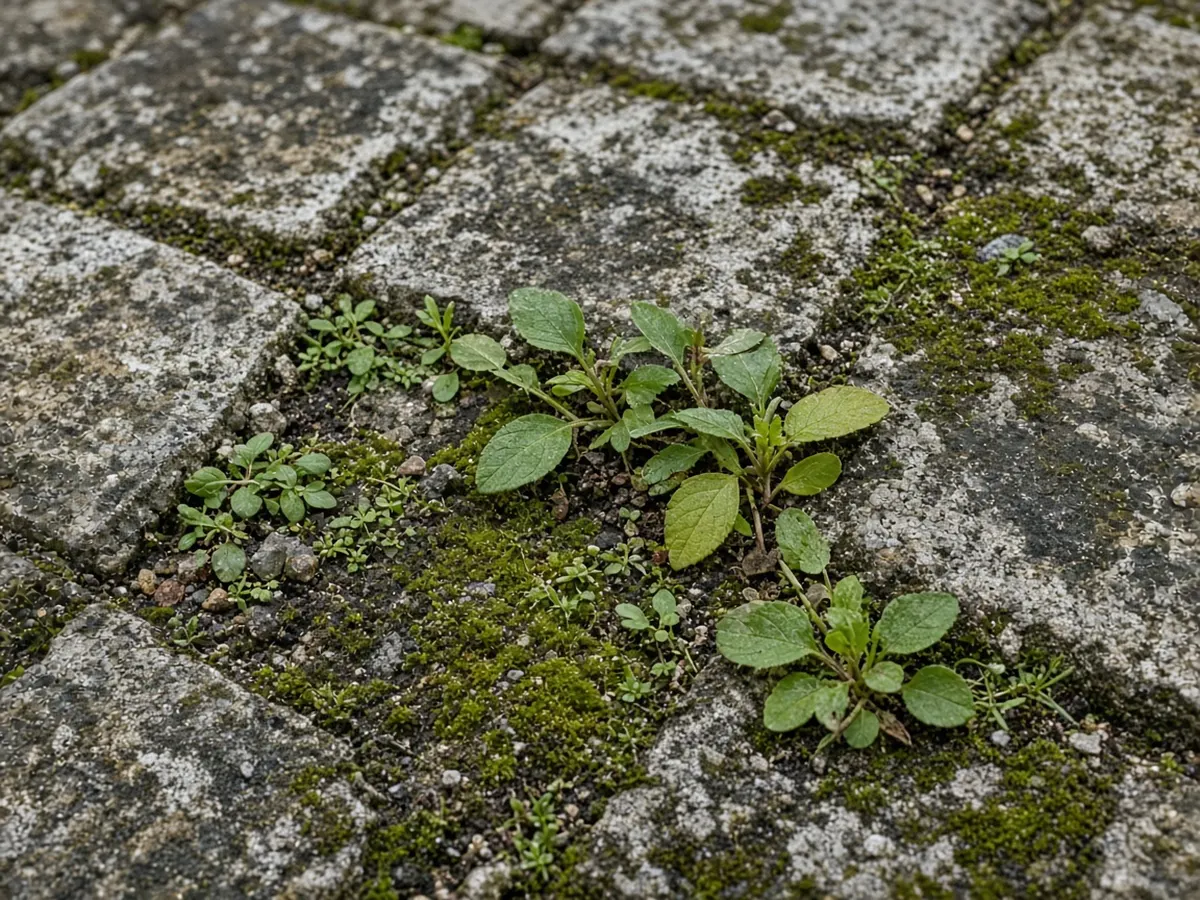
- Weeds or grass growing between pavers.
- Ant hills with sand piles on the surface.
- Pavers starting to shift or rock.
- Sand washing onto the lawn or into the street after storms.
- Moss growing in shady joints.
Regular Sand vs. Polymeric Sand
Regular jointing sand is fine, dry sand swept into joints. It is inexpensive and easy to top up but can wash out over time and does not resist weeds or ants much.
Polymeric sand is sand mixed with binders. After it is swept into dry joints and misted with water, the binders activate and the sand firms up. It resists washout, weeds and ants better than regular sand, while staying somewhat flexible. Over time it can still wear and may need topping up or replacement.
Polymeric sand is not mortar. Pavers on a sand-set base are meant to flex slightly; rigid mortar joints in a flexible system tend to crack.
How Polymeric Sand Should Be Applied
Many problems with polymeric sand come from how it is installed. Typical steps, following the manufacturer's instructions:
- Clean out old joints to an adequate depth. Many products call for filling most of the paver depth, not just a thin top layer.
- Let pavers dry completely. Damp pavers can activate the binder on the surface and cause haze.
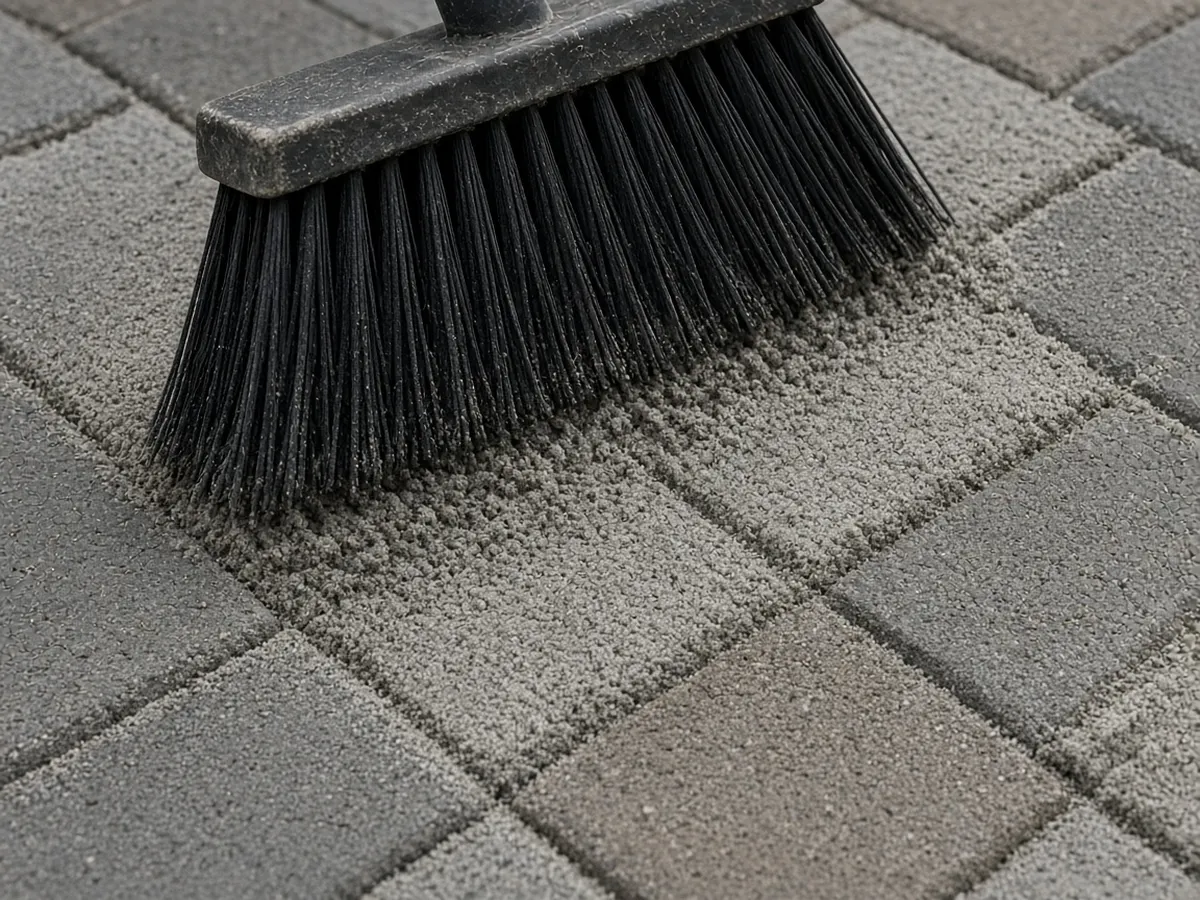
- Sweep sand into joints and compact the pavers with a plate compactor (with a protective pad) to settle the sand, then top up.
- Remove every bit of dust from the paver surface with a soft broom and leaf blower. This step is critical.
- Mist with water in stages as directed. Too little water and it will not set; too much and the binder washes out or onto the surface.
- Keep off it and protect it from rain for the time the product calls for.
Weather matters. Most products need dry conditions and temperatures within a stated range. In Michigan, that generally means waiting for settled weather in late spring through early fall.
Common Problems
Polymeric haze. A cloudy film on the paver surface, caused by leftover dust that was wetted. It can be hard to remove and sometimes needs a specialty cleaner.
Soft or crumbly joints. Usually from too little water, too shallow a fill, or rain before curing.
Cracks or gaps. Can happen if joints were not compacted or the base is moving.
Washout. Overwatering during activation, or too much water flow over the surface from a downspout.
A contractor experienced with polymeric sand can usually avoid these, and can tell you when old polymeric sand needs to be fully removed before re-sanding.
Joints and Freeze-Thaw
Full joints help keep water out of the bedding sand and base, which matters in a climate with many freeze-thaw cycles each winter. They also help the pavers stay locked together when the ground moves. But no joint is waterproof. Good base drainage and surface slope are still essential.
Joints on Permeable Pavers
Permeable pavers are different. They have wider joints filled with small stone chips so water can drain through. Do not use polymeric sand on permeable pavers, since it would seal them. See permeable pavers.
Ants and Weeds
Ants love sandy joints. Polymeric sand discourages them but may not stop them entirely, especially along edges. Weeds mostly grow in dirt and organic debris that collects on top of joints, so regular sweeping helps a lot. Full, firm joints are the best defense against both.
When Joint Repair Is Not Enough
If pavers are sunken, heaved or rocking, filling the joints will not fix the base underneath. The pavers need to be lifted and reset; see paver repair and releveling. If the pavers are dirty and faded, joint work is often done along with cleaning and sealing; see paver sealing and cleaning.
Joint Width and Product Choice
Not every polymeric sand suits every joint. Standard tight joints between concrete pavers take one type of product, while wider joints on tumbled pavers or natural stone often need a product made for wide gaps. Using the wrong one can lead to cracking or washout. Ask the contractor which product they plan to use and confirm it matches your paver type and joint width. For older patios with very worn or mixed joints, the contractor may recommend fully cleaning out the joints before anything new goes in.
What It Costs
These are general national estimates, not quotes. HomeGuide's paver patio cost guide lists polymeric sand at roughly $0.10 to $0.30 per square foot in material, or about $20 to $40 per bag. Labor for cleaning out joints and re-sanding is the bigger part of the cost. HomeGuide's sealing guide lists combined washing, re-sanding and sealing at roughly $1.50 to $3.25 per square foot.
What moves the price:
- How much old sand and weed growth must be removed.
- Area size and complexity.
- Whether cleaning and sealing are included.
Questions to Ask
- Will you remove old sand down to a proper depth?
- Which polymeric sand will you use, and does it suit our paver joint width?
- How will you prevent haze?
- What weather do you need for installation and curing?
- Will you also clean or seal?
Get a Free Joint Repair Quote
Tell us what you are seeing (empty joints, weeds, ants, shifting), the rough size of the area, and your city or zip code. A local contractor will follow up with a written quote. Call the number at the top of the page or use the form.